How to Make Scented Candles
The recent interest in buying different fragrance candles and especially making scented candles at home has grown among women. Whether it is for starting a small business or just trying it out as a hobby, as a beginner, there can be a lot of struggles when learning how to make scented candles. There is a lot of confusion about how to choose the right wax and how to add the fragrance in an appropriate amount. In this guide, we will give an easy process on how to make scented candles for beginners. If, as a beginner, you don't know the benefits of scented candles, then this blog about why scented candles boost mood, reduce stress, & improve sleep can be a good resource for you to get all the knowledge about the different benefits as you get into making one for yourself.
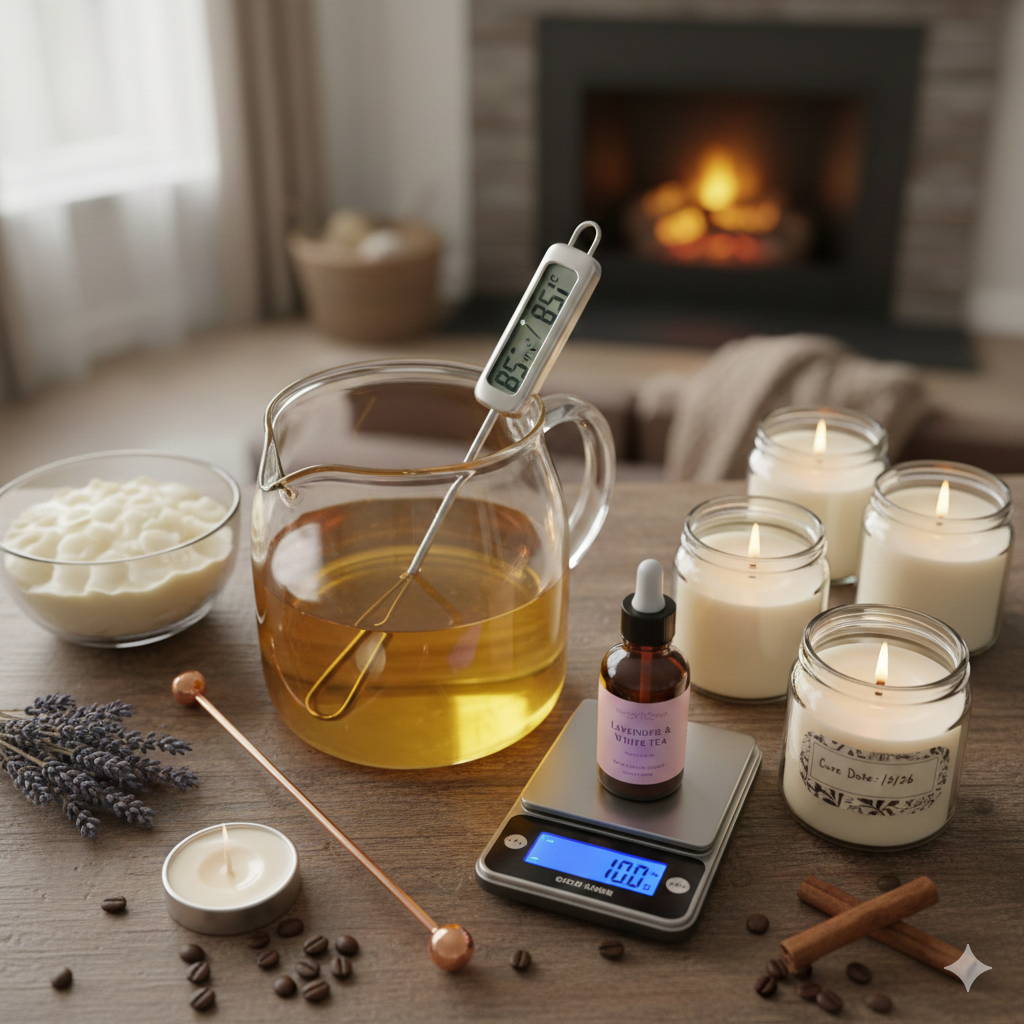
What You Need to Make Scented Candles at Home
To make scented candles at home, you need to have some basic supplies so you can start. The most important thing in these supplies is a digital scale and a thermometer, so the fragrance can be bound correctly and can burn safely.
Here is your quick Supplies Checklist for making scented candles at home:
- Wax: Choose from soy, paraffin, beeswax, or a coconut blend.
- Heat-safe jar or mold: Glass jars or heat-resistant metal tins work best.
- Wick: Use cotton or wood wicks suited for your jar size.
- Wick sticker + wick holder: These keep the wick centered.
- Fragrance oils + essential oils: Fragrance oils are designed for wax, while essential oils are natural plant extracts.
- Digital scale + thermometer: Essential for consistent scent and safety.
- Double boiler/pouring pitcher: To melt wax gently.
- Stirrer, labels, paper towels, & rubbing alcohol: Use alcohol to clean jars for a better wick bond.
When you have the right supplies, it makes the process of making candles easier. However, you should keep safety at the forefront when working with hot wax and open flames. Read this consumer candle safety guide to protect your home.
Choosing the Best Wax for Strong Scent Throw
If you want to know how to make strong-scented candles, then the most important thing for that is choosing the right wax. The quality of the wax determines how strongly the scent will bind with it and how it spreads all across the room when it is burning, which is also called hot throw. The longer you leave the candle to rest after making it, the better it will smell when you light it up.
|
Wax Type |
Scent Throw |
Resting Time |
Pros |
Cons |
|
Soy |
Moderate |
1–2 Weeks |
Eco-friendly, clean burn |
Can frost; needs a lot of resting time. |
|
Paraffin |
Excellent |
24–48 Hours |
Strongest hot throw |
Petroleum-based; soot |
|
Beeswax |
Subtle |
1 Week |
Natural air purifier |
Hard to scent; expensive |
|
Coconut Blend |
Great |
1 Week |
Creamy look; bright colors |
Very soft; pricey |
For making your candle for the first time, you should either start with soy wax. Also, make it in small amounts in 2 to 3 jars to check different fragrances and see which you like the best, so you can make a big jar later. By making small jars, you will also save your time and money if you do make mistakes, as it is common to make mistakes for the first time. You should not be disheartened and try different scents to find the one you like the best.
How to Make Scented Candles Step by Step
Here are the simple steps from start to finish to make scented candles step by step in a safe manner with amazing fragrance to boost your mood.
Step 1: Prep the Jar and Wick
The very first thing you need to do is clean your jar with rubbing alcohol, as this will remove any dust and oils. After that, you need to use a wick sticker to attach your wick to the bottom center of the jar.
If you don't know how to choose wick size for jar candles, refer to this table and choose the correct wick size.
|
Jar Size (Diameter) |
Recommended Wick Size |
Notes |
|
Small (2–3 inches) |
Thin |
Burns evenly, avoids tunneling |
|
Medium (3–4 inches) |
Medium |
Provides a steady flame without excess smoke |
|
Large (4 inches or more) |
Thick |
Ensures full burn across the surface |
Step 2: Melt the Wax Safely
For melting the wax, you need to use a double-boiler method. This way, the wax does not get the direct heat from the stove, and this prevents it from catching fire. You also need to keep the flame low and don't leave it unattended. Make sure that no water drops get in the wax, as this can be dangerous. You should follow the candle fire safety tips when making your candles at home.
Step 3: Measure and Add Fragrance Correctly
For learning how to make scented candles with fragrance oil, you need to understand the “fragrance load” first. Most waxes can safely hold about 6–10% fragrance. If you add too much fragrance oil, then the wax won’t absorb all of it properly.
Now, follow these simple steps:
-
Weigh your fragrance – Always use a scale, not drops, to measure your fragrance oil. For every 100 grams of wax, use 6–10 grams of fragrance, depending on how strong you want the scent.
-
Check the temperature – Knowing “what temperature to add fragrance oil to soy wax” is key. Pour fragrance when the wax is around 185°F (85°C). Too cool and it won’t mix; too hot and the scent can burn off.
-
Mix thoroughly – Stir the wax and fragrance for at least 2 minutes. This ensures proper blending.
- Adjust your ratio – You can calculate your “fragrance oil ratio for candles” by multiplying your wax weight by your desired fragrance percentage.
Step 4: Pour, Cool, and Fix Sinkholes/Rough Tops
After preparing your scented candle wax, you need to pour it slowly into the jar you prepared. After pouring, place the jar in a room where there is no direct ventilation or air. After it hardens in the jar, you might notice sinkholes (rough surface) at the top. This can happen when shrinks after cooling down. You can fix it by pouring hot wax for the second time, or if you have a heat gun, you can also use that to make the surface smooth.
Step 5: Cure (resting time) and Do a Test Burn
Curing or resting time allows the fragrance and wax to bond completely. A typical soy candle cure time is 7 to 14 days. Once it’s rested, trim the wick to 1/4 inch and light it. Let it burn long enough for the wax to melt across the whole surface. Watch for tunneling or smoke, and take notes to make your next candle even better.
Essential Oils vs Fragrance Oils for Candles
Some people want to learn how to make scented candles with essential oils due to their being a natural product. But the main disadvantage of using essential oils in candles is that they are not stable under high heat, and they have a low scent compared to fragrance oils.
You should check your supplier documentation and follow IFRA guidelines to know the safe usage levels of fragrance oils. As a beginner, you should try to make candles with fragrance oil, and once you get good results with that, then you can experiment with essential oils.
Troubleshooting: Why My Candle Has No Scent (and Other Common Problems)
Why my candle has no scent is the most common complaint for beginners. Let's fix it.
- Weak Hot Throw: This usually means the fragrance load was too low, or you added the oil at the wrong temperature. It can also happen if the candle hasn't cured long enough.
- Tunneling: This happens if your wick is too small or you didn't let the first burn reach the edges.
- Frosting: This is a natural crystallization in soy wax. It is purely cosmetic and does not affect the scent.
- Smoking/Soot: This is a sign your wick is too big, or you forgot to trim it before lighting.
If you prefer ready-to-use scents, explore our candle collection.
Beginner Scent Ideas and Easy Combinations
Mixing scents lets you be creative. Try these simple pairings:
- Fresh: Lemon + Eucalyptus or Sage + Grapefruit.
- Floral: Rose + Vanilla or Lavender + White Tea.
- Sweet: Cinnamon + Vanilla or Coffee + Hazelnut.
- Woody: Pine + Sandalwood or Cedarwood + Amber.
Test small batches and keep notes. Label everything so you can repeat your favorite blends.
Frequently Asked Questions (FAQs)
Can I make scented candles without a kit?
Yes. You can make scented candles even without a kit. All you need to buy is wax, wicks, and oils separately. You can use a kitchen scale and a heat-safe glass bowl from your home to melt your wax.
How much fragrance oil should I use per pound of wax?
For one pound of wax, you need one ounce of oil. You can use this to figure out how much fragrance oil per pound of wax for a 6% fragrance load.
Why is cold throw strong but hot throw weak?
If your candles have strong cold throw and weak hot throw, it means that the fragrance oil has not bonded well with the wax, or you have not mixed the oil for the full two minutes.
Can I use essential oils instead of fragrance oils?
Yes, you can use them, but know that they are very light and can fade faster than fragrance oils.
How do I stop tunneling on the first burn?
To stop tunneling, you need to burn the candle until the wax melts to the very edge. This will take you 2 to 3 hours, depending on the size of the jar.
Conclusion
Making scented candles as a beginner can be exciting, but it requires a lot of patience and following all the steps carefully to get your desired results. Adding the fragrance at the right temperature, curing it for the required days, and trimming the wick are the most important steps to get a perfect scented candle. However, you should keep safety precautions in mind and don’t leave it unattended. Now that you know how to make scented candles, you can create your own signature blends. If you want to shop scented candles, you can visit our store.
RECENT POSTS
25.July.2026
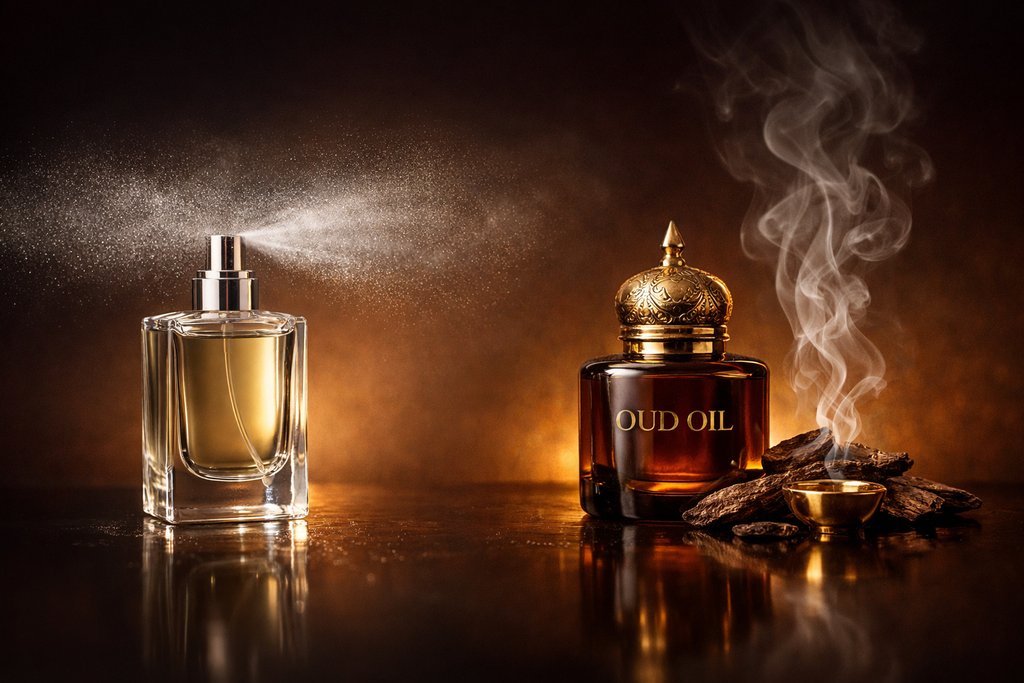
Oud vs Regular Perfume: Why One Lasts 12 Hours, and the Other Fades in 30 Minutes
0 Comments